Support
Updating Android HandheldUpdate Android Handheld
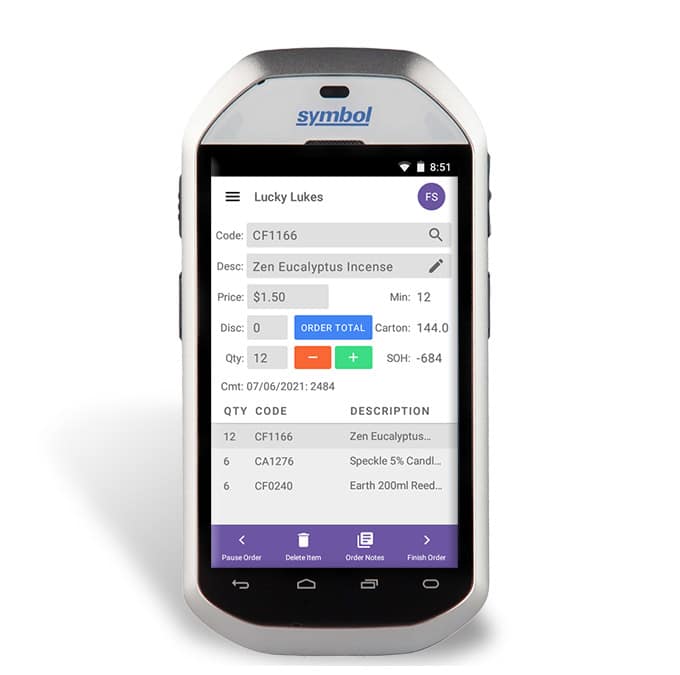
The instructions below detail how to update the FairScan App on an Android handheld.
The Update file must first be downloaded from the FairScan Customer Support Website, then opened and run on the laptop/computer running FairScan, and then each handheld needs to perform 2 Syncs.
Once updated, the handheld will be running the updated version of the FairScan App.
Follow the instructions below to update the Android Handheld Software. Contact mail@fairscan.com.au if you have any problems or questions.
Step 1 – Download Update
Visit and login to the FairScan Customer Support website at:
http://cust.fairscan.com.au/cust/update.asp
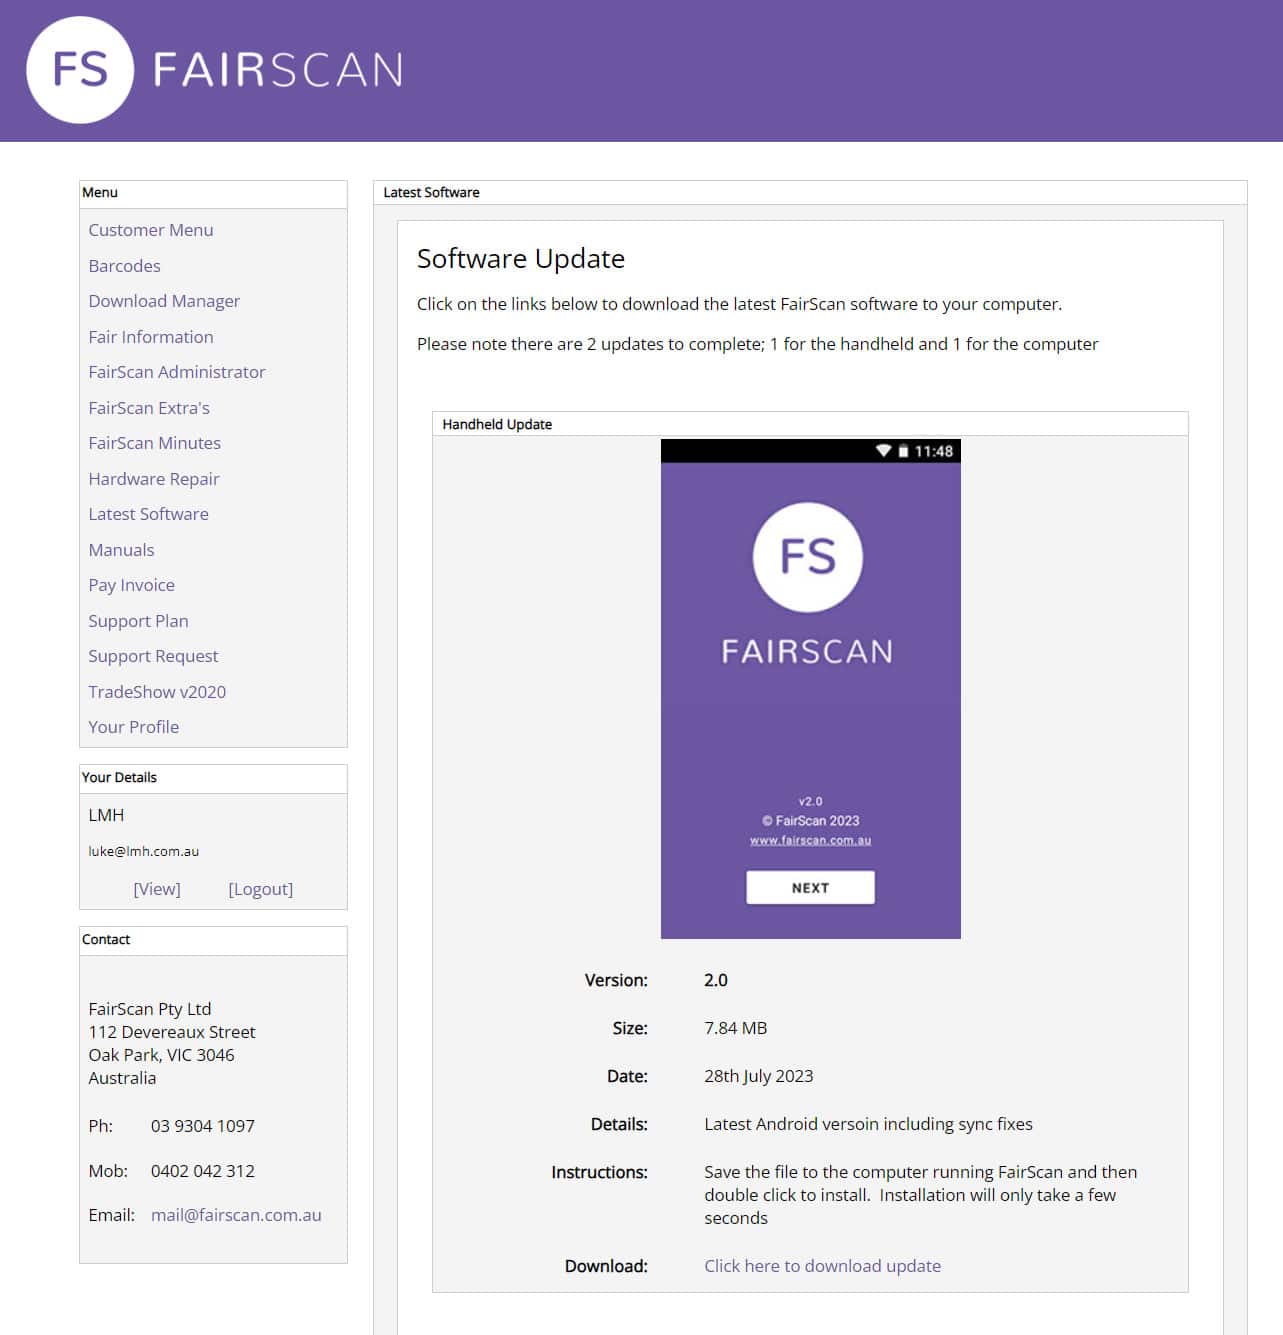
Download the Android Handheld Update by clicking the link ‘Click here to download update’
Step 2 – Install Update
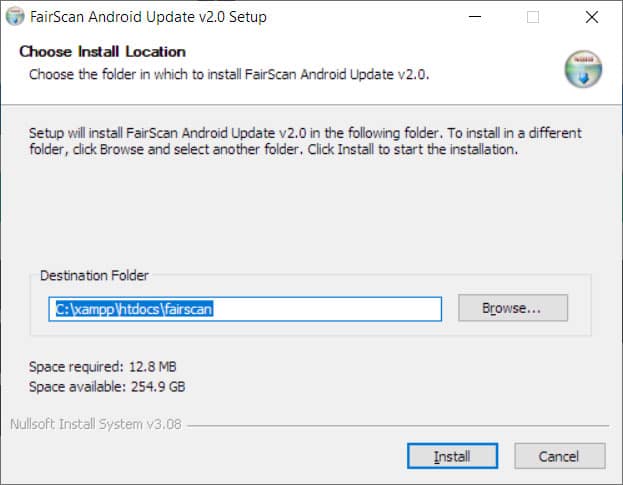
Open the downloaded .exe file from the previous step on the computer that is running FairScan.
Please note that you must run the update file on the computer running FairScan. You can download it on any computer, but must copy it and run it on the laptop used at the fair.
Click ‘Install’ to install the update
Step 3 – Sync Handheld
Connect the fair router to the laptop.
Then do a ‘Sync’ on each handheld.
You can sync all handhelds at the same time if you wish
Step 4 – Update Available
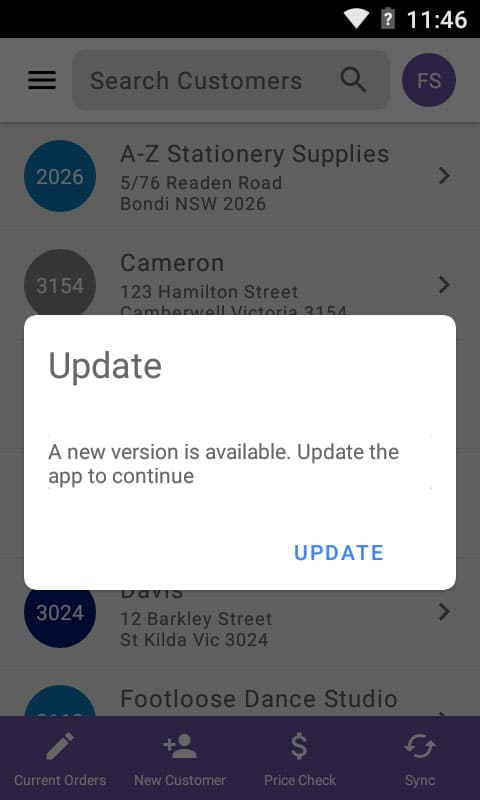
A message will appear indicating that there is an Update available.
Click ‘Update’.
If you don’t see this message, then tap the 3 lines in the top left corner of the handheld screen, and then tap ‘Restart App’ and then try to Sync again
Step 5 – Install Update
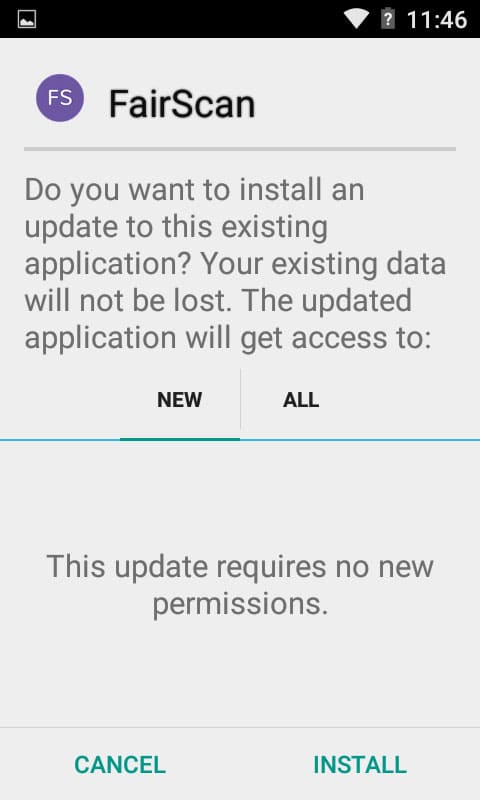
Once the Update has been downloaded, a screen will appear asking you to confirm that you wish to install the update.
Tap ‘Install’ to continue
Step 6 – App installed
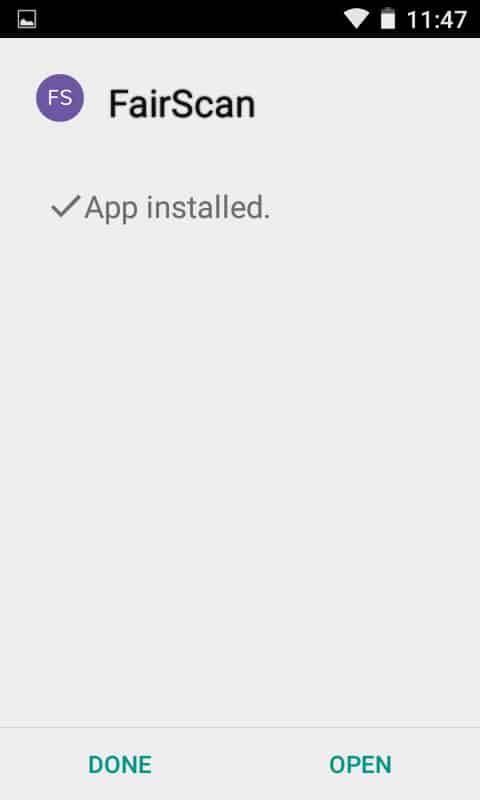
The Update will take approx. 1 min to install.
A message will appear on the screen of the handheld indicating when the update is complete.
Tap ‘Done’
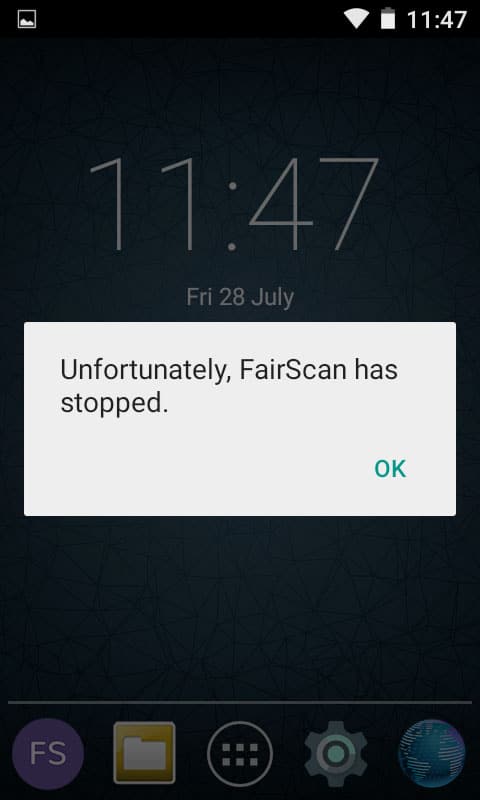
Step 7 – FairScan has stopped
If you click ‘Open’ in the previous step, the app won’t open and an error will be displayed.
Don’t worry about this, tap on ‘OK’ and then continue to the next step
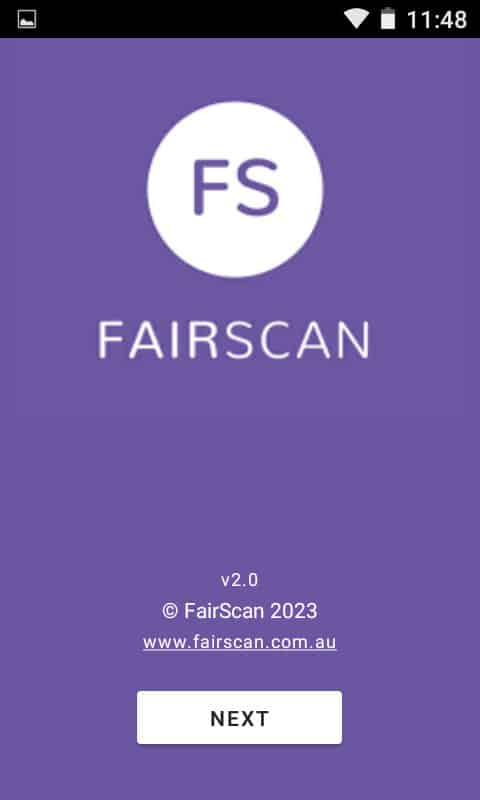
Step 9 – Check Version
This screen show now show the updated version of the Software.
If it doesn’t, then try this process again.
Tap ‘Next’ to continue
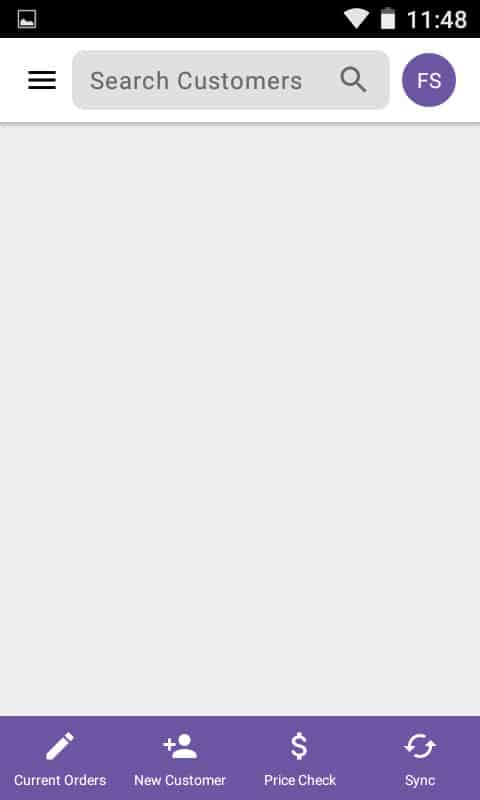
Step 10 – Sync Handheld
After an Update, all of the items and customers will be removed on the handheld.
To get them back, tap on the ‘Sync’ button
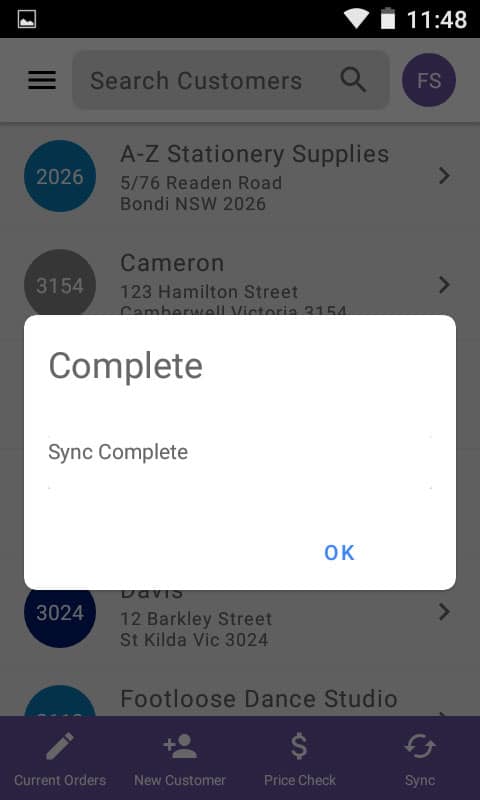
Step 11 – Complete
The sync will take a few minutes to complete (dependent on how many items and customers you have).
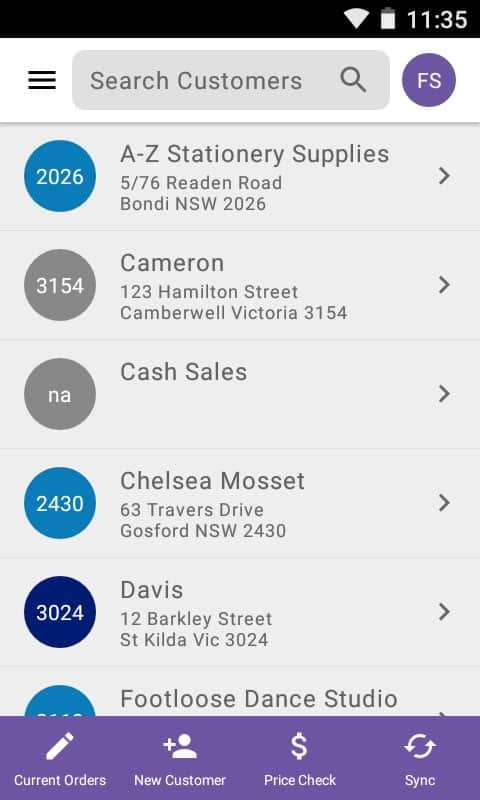
Once complete, the customers will appear on the screen, and the handheld will now be ready to use.
If no customers appear, then you could tap the icon in the top left corner (3 horizontal lines) then go to ‘Settings’ and then tap ‘Delete All Customers and Stock’. Once complete then do another Sync. Only do this step if the first sync after the update failed to download all the expected customers or items

